5 Simple Steps to Make a High-Impact YouTube Thumbnail
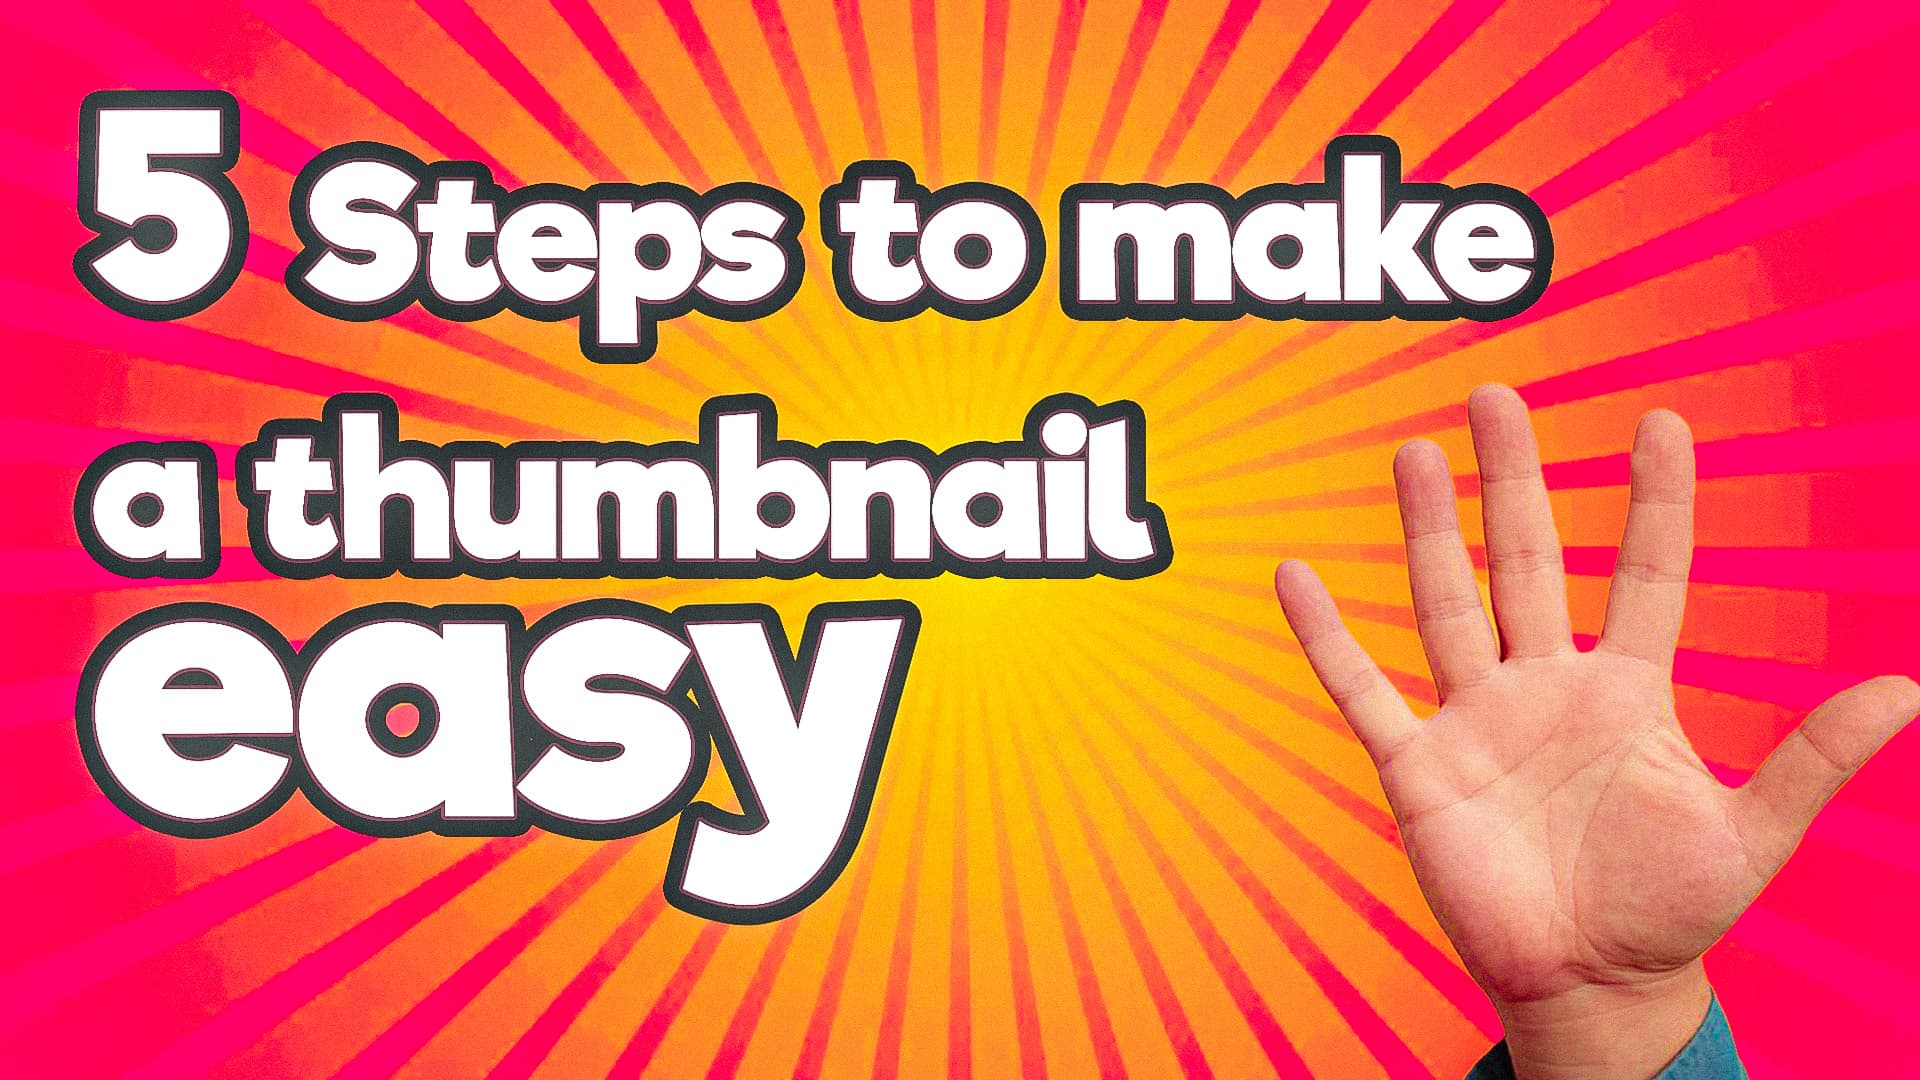
A thumbnail is the single most powerful lever to generate viewer interest. Mastering thumbnail design does not require complicated graphic design degrees—it requires a disciplined, repeatable workflow. Here are five easy steps to create high-impact thumbnails every time.
1. Select High-Resolution Imagery
Always start with clean, uncompressed source material. Pixelated, fuzzy, or low-light screen grabs instantly signal amateur quality to potential viewers. Aim for a native 1280 × 720 resolution canvas and crisp subject isolation.
2. Keep the Composition Simple
Avoid the temptation to cram every aspect of your video onto one image. A crowded thumbnail overwhelms the eye. Limit your focal composition to one main subject, one strong reaction face, and minimal background clutter.
3. Use Bold, Highly-Readable Fonts
Thumbnails shrink drastically when viewed on smartphone feeds. Your chosen font must remain legible at 150 pixels wide. Use heavy sans-serif typefaces (like Impact, Bebas Neue, or Montserrat Bold), apply contrasting drop shadows, and keep text under four words.
4. Incorporate Consistent Channel Branding
Develop a signature color palette, consistent border accent, or recurring layout style. Over time, your subscribers will instantly recognize your uploads on their homepage without even reading the channel name.
5. Test and Iterate Multiple Variations
Never settle for your very first export. Top creators create two or three distinct thumbnail concepts for every video. Compare them side-by-side inside a simulated feed to see which version commands the most attention.
Pro Tip: Test Your Thumbnail in the YouTube Feed
Use our free simulator to preview how your thumbnail and title look on desktop and mobile feeds alongside competitors before hitting publish.
Try Free Thumbnail Tester Now